
The objective of this blog is to motivate developers to start experimenting with programmable electronics and sensors, ultimately taking them to a point where they are comfortable doing their own IoT mashups.
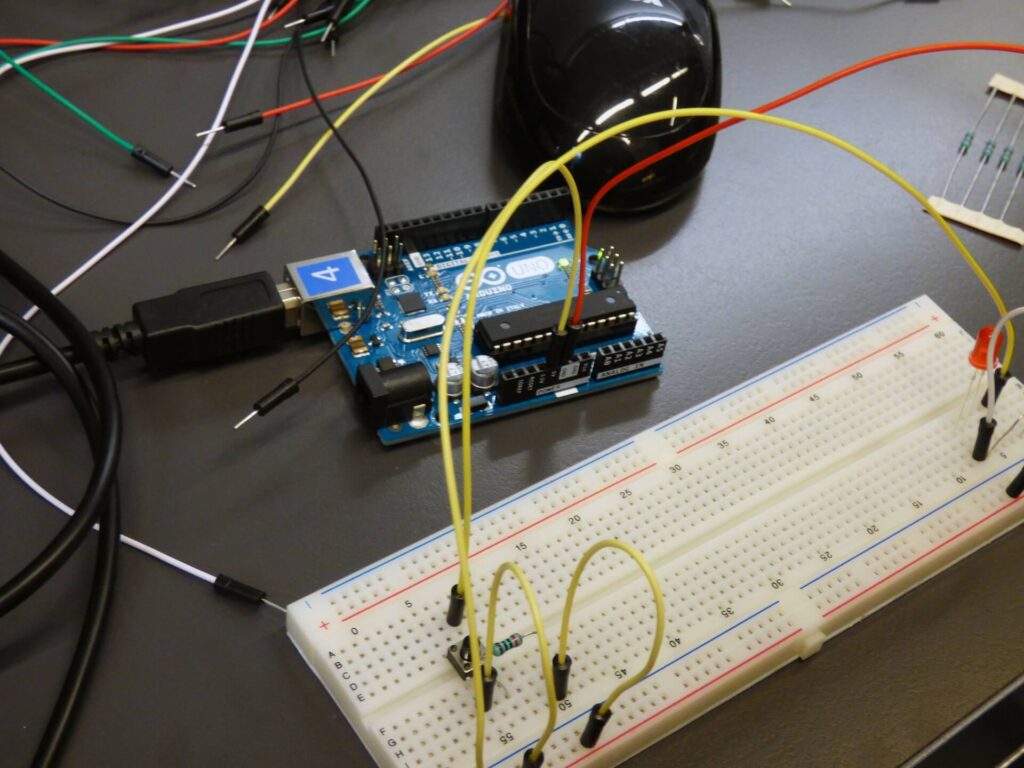
The components required for the weather stations are simple and minimal. I have given the eBay link for each item.
-
- Any Arduino based micro-controller : Arduino Nano
-
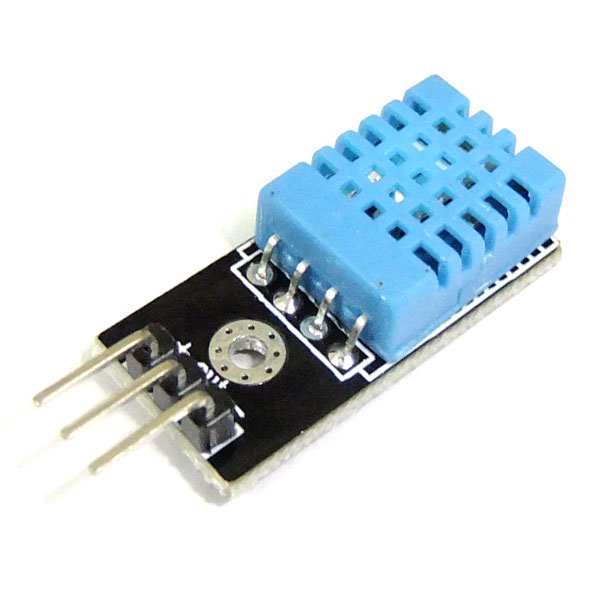
- A temperature sensor : DHT11
-
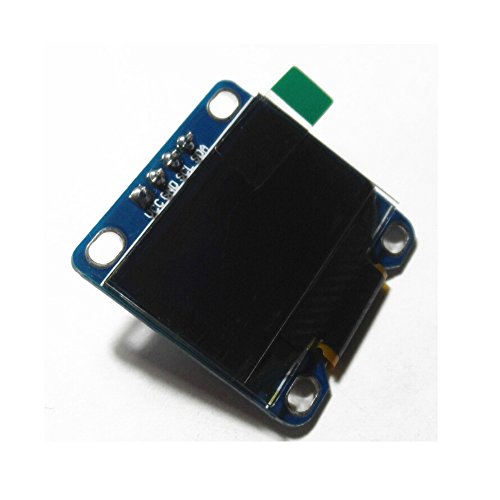
- A display module : I2C Serial Display
-
- A few LEDs
-

- Temperature & Humidity Sensor (DHT 11)
-
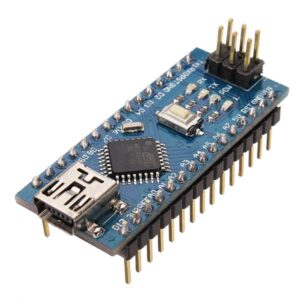
- Arduino Nano

-

- 0.96″ I2C OLED Display
Once you have the required items ready its time to get the relevant software & drivers. First visit Arduino download page and download & install the Arduino IDE. Next we need to get the required libraries for the temperature sensor and display. The display requires 2 libraries which can be downloaded from the following links.
The library for the DHT11 temperature sensor can be downloaded from the following link.
Once you have all the required drivers downloaded, they need to be added to the Arduino IDE. To do this in the Arduino IDE, select Sketch > Include Library > Add .ZIP Library… and add the downloaded libraries.
Now when you need to call a library all you need to do is use the#include<{Library Name}> and replace the Library Name with the library heard file name. or simple you can add the following code.
#include <dht.h>
#include <SPI.h>
#include <Wire.h>
#include <Adafruit_GFX.h>
#include <Adafruit_SSD1306.h>
As you can see from the code, the temperature sensor library and the display libraries have been added along with the SPI and Wire libraries which will be used for I2C communication between the devices.
Next step is to define pins, mostly this will be the data pin for the sensor and the OLED reset pin. For the OLED Rest we will be using pin 4 and for the sensor we will be using pin 14. Once the pins are defined we can go ahead with initializing the sensor and the display. The code below defines the pins and initializes the components.
#define OLED_RESET 4
#define DHT11_PIN 14
Adafruit_SSD1306 display(OLED_RESET);
dht DHT;
Now to add in the setup function. In Arduino when you create a new project there are two functions that are created for you.
-
- Setup function: For all the initial set up code.
-
- Loop function: All programs that needs to be executed in the Micro controller.
These function basically perform as their name call them. So the in the setup function we will set up the initial parts of the display and the setup of serial messaging. Here follows the completed setup function.
void setup() {
 // Setup Serial Messaging for Logging
 Serial.begin(9600);
 Serial.println(“Tempreature & Humidity Reading”);
 Serial.println(“Temperature, Humidity”);
 // Initialise Disply
 display.begin(SSD1306_SWITCHCAPVCC, 0x3C);
 display.display();
 // Hold the Display Image
 delay(1000);
 // Clear Display
 display.clearDisplay();
}
Once the the setup function is completed we will need to write the components for the loop function this is where most of the fun part happens.
void loop() {

 // Read Data from Temp Sensor
 DHT.read11(DHT11_PIN);
 // Log Tempreature and Humidity Information
 Serial.print(DHT.temperature);
 Serial.print(“, “);
 Serial.print(DHT.humidity);
 Serial.print(“n”);
 // Display Text
 display.clearDisplay();
 display.setTextSize(1);
 display.setTextColor(WHITE);
 // Print Required Text Information
 display.setCursor(0,0);
 display.print(“Tempreature: “);
 display.print(DHT.temperature, 1);
 display.println(“C”);
 display.print(“Humidity: “);
 display.print(DHT.humidity, 1);
 display.println(“RH”);
 // Few more additiona to alert Hot / Cold
 display.setTextColor(BLACK, WHITE);
 display.setTextSize(2);
 if(DHT.temperature >= 30.00){
 display.println(“HOT”);
 binlk_hot();
 }else if(DHT.temperature <= 18.00){
 display.println(“COLD”);
 binlk_cold();
 }else{

 }
 // Load data to display
 display.display();
 // Wait 1s before re-executing
 delay(1000);
}
Once the looping function has been written, we can compile the program and upload it to the Micro-controller. This can be done by clicking the Upload button. Once its uploaded we have a running weather station under $10.